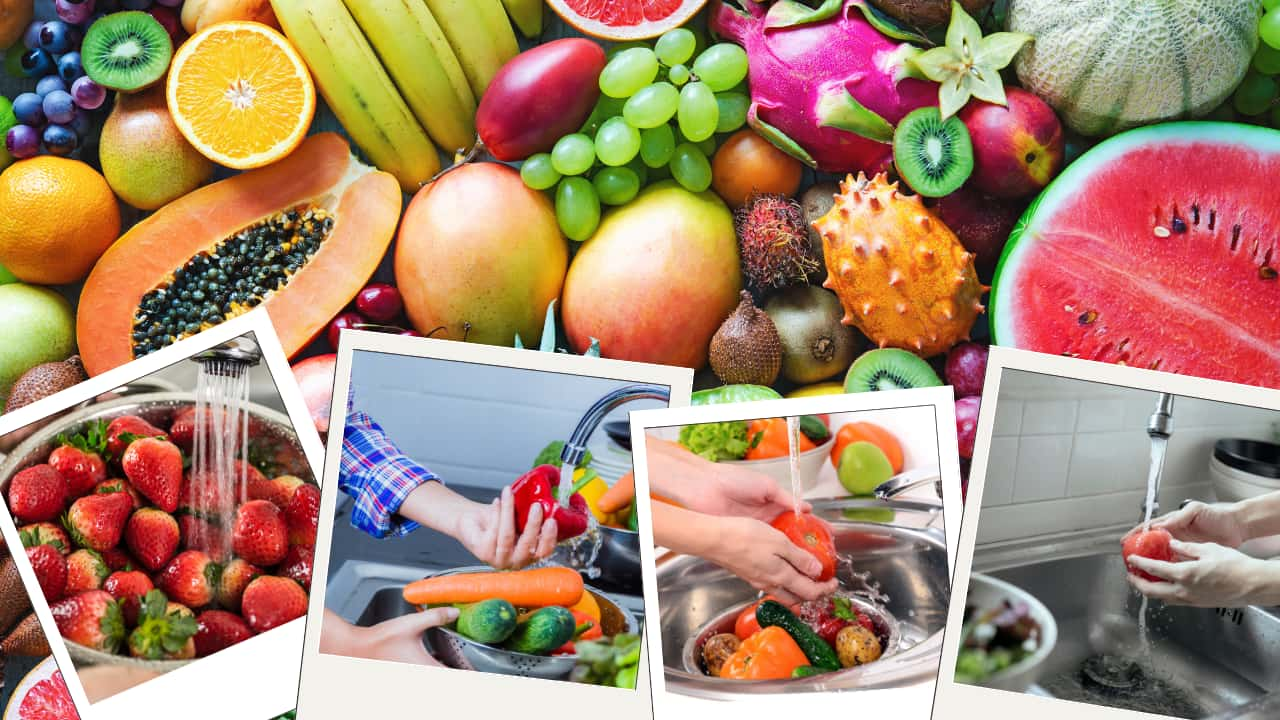
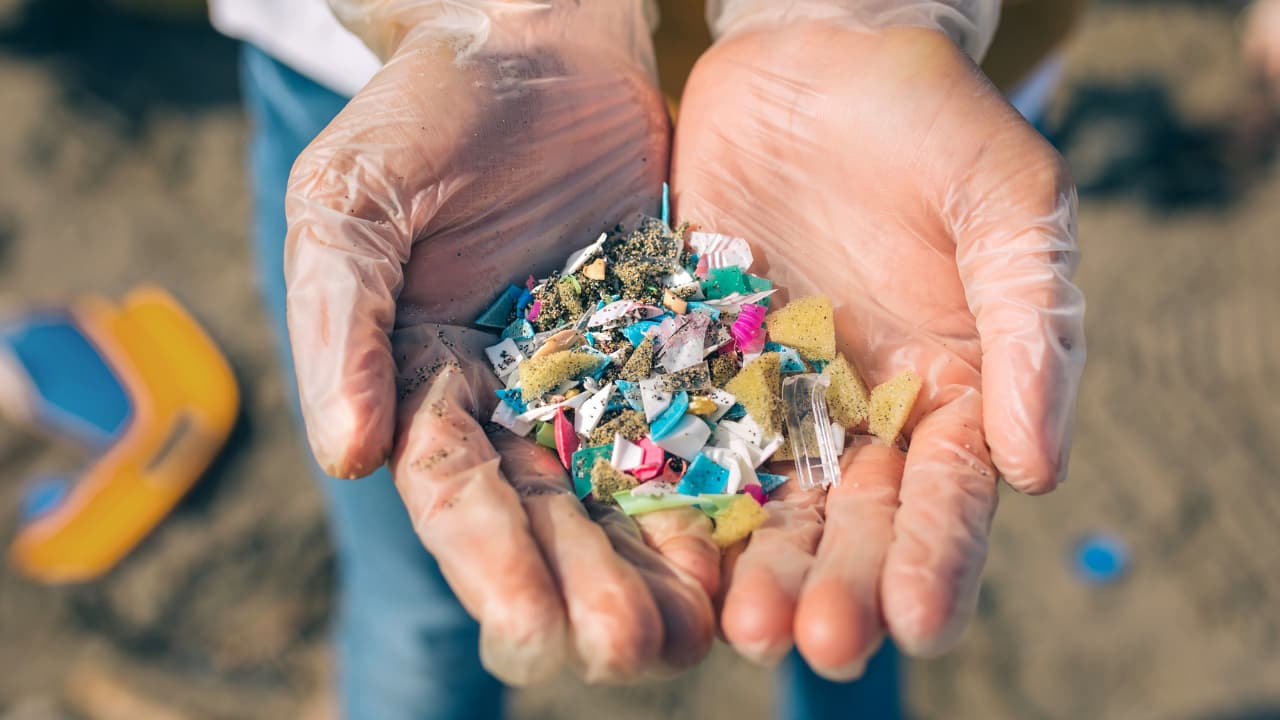
Fruits like berries, apples, and pears are celebrated for their powerful ability to stabilize blood sugar levels—making them essential allies in the fight against insulin resistance, type 2 diabetes, and chronic inflammation. But here’s what most people overlook: simply buying these fruits isn’t enough. Many of the healthiest fruits are also among the most contaminated—laced with pesticide residues and even microplastics that can silently sabotage your health and cancel out their natural benefits.
To truly unlock the healing power of these blood sugar–friendly fruits, you must first remove the invisible threats that cling to their skins. In this article, we’ll walk you through the hidden dangers of contamination and share effective, step-by-step methods to clean your fruits properly—so you can enjoy every bite with confidence, clarity, and peace of mind.
Berries
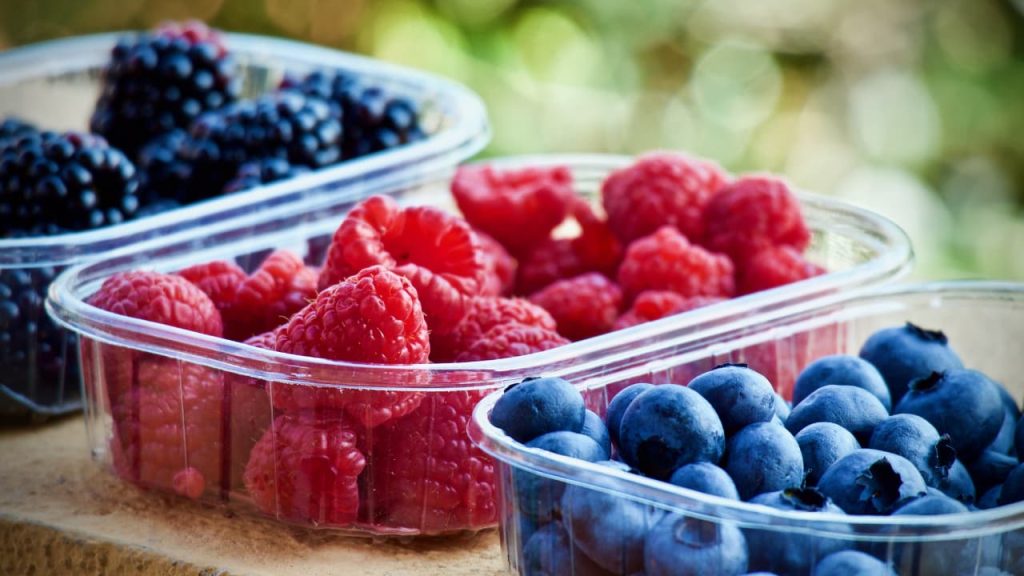
Since berries are delicate, harsh cleaning methods can damage their texture and flavor. Here’s a gentle but effective step-by-step method to remove pesticides while preserving taste and freshness:
Step-by-Step Guide to Cleaning Berries
1. Prepare a Vinegar Solution (Best for Removing Pesticides)
- Mix 4 parts water with 1 part white vinegar in a large bowl.
- This solution helps break down pesticide residues and kills bacteria without altering taste significantly.
2. Soak the Berries
- Place the berries in the vinegar solution and let them soak for 5–10 minutes.
- Swirl them gently with your hands to help loosen dirt and chemicals.
3. Rinse Thoroughly
- Drain the vinegar solution and rinse the berries under cold running water for at least 30 seconds.
- This helps remove any remaining vinegar taste and pesticide residues.
4. Dry Properly
- Lay the berries on a clean kitchen towel or paper towel.
- Pat them dry gently to prevent mushiness.
- Ensure they are completely dry before storing to prevent mold growth.
Alternative Cleaning Methods
- Baking Soda Soak
- Dissolve 1 teaspoon of baking soda in 2 cups of water and soak berries for 5 minutes.
- Rinse thoroughly under cold water.
- Less likely to affect taste than vinegar but still effective in removing pesticides.
- Saltwater Wash
- Mix 1 teaspoon of salt in 4 cups of water and soak for 5–10 minutes.
- Rinse well to avoid a salty aftertaste.
- Plain Water Rinse (Least Effective)
- Running berries under water for 30–60 seconds can remove some surface pesticides but won’t eliminate deeper residues as effectively as vinegar or baking soda.
Final Tip
Whenever possible, opt for organic berries to reduce pesticide exposure. However, if organic is not an option, washing berries properly can significantly lower pesticide residues while keeping them fresh and delicious.
Apples
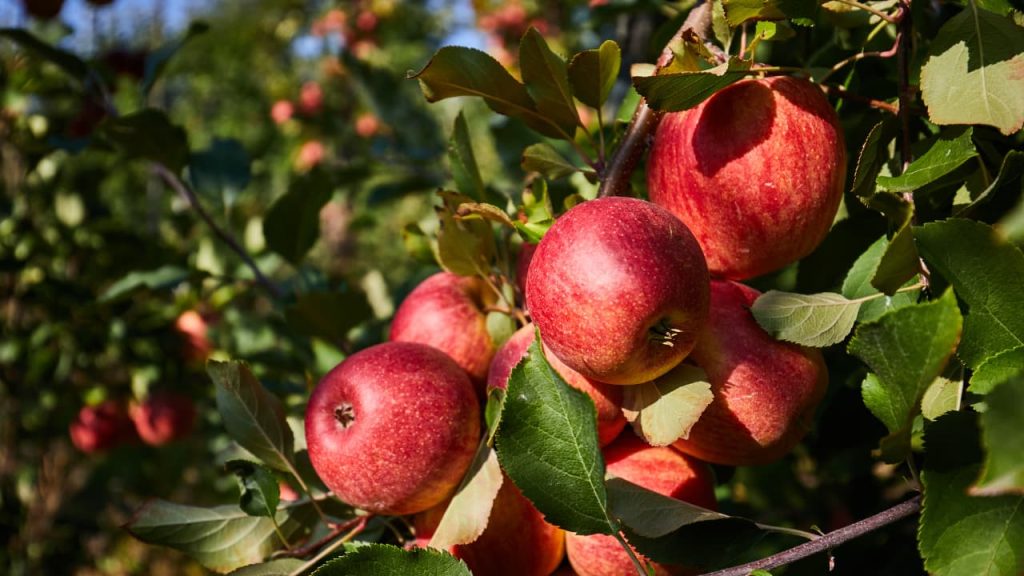
Since apples are often waxed and exposed to multiple contaminants, rinsing them under water isn’t enough. Here’s the best way to clean them thoroughly while maintaining their natural flavor:
Step-by-Step Cleaning Process
1. Soak in Baking Soda Solution (Best for Removing Pesticides & Microplastics)
- Mix 1 teaspoon of baking soda per 2 cups of cold water in a bowl.
- Submerge the apples and let them soak for 15 minutes.
- This method has been proven to remove up to 80% of pesticide residues.
2. Scrub Gently
- Use a soft-bristled vegetable brush or a clean cloth to gently scrub the surface of each apple.
- This helps remove the wax layer that can trap pesticides and microplastics.
3. Rinse Under Cold Running Water
- After soaking, rinse each apple thoroughly under cold running water for at least 30 seconds.
- This removes any remaining baking soda residue.
4. Optional: Vinegar Rinse for Extra Cleaning
- For added disinfection, mix 1 part white vinegar with 3 parts water and soak the apples for 5 more minutes.
- Vinegar helps break down residual pesticides and bacteria.
- Rinse well afterward to prevent any vinegar taste.
5. Dry & Store Properly
- Pat the apples dry with a clean towel.
- Store them in a dry place or the refrigerator to maintain freshness.
Alternative Cleaning Methods
- Peeling the Apple – Removes most pesticide residues but also eliminates valuable fiber and nutrients in the skin.
- Saltwater Wash – A solution of 1 teaspoon salt per 4 cups of water for 10 minutes helps remove pesticides but can slightly alter taste.
Final Tip
Whenever possible, buy organic apples or wash conventional apples thoroughly using the baking soda method. This helps significantly reduce exposure to pesticides, microplastics, and wax coatings while keeping the fruit safe and delicious.
Pears
Since pears have thin skin, they need to be cleaned thoroughly while preserving their texture and flavor. Rinsing alone won’t remove all contaminants, so follow this step-by-step deep-cleaning process:
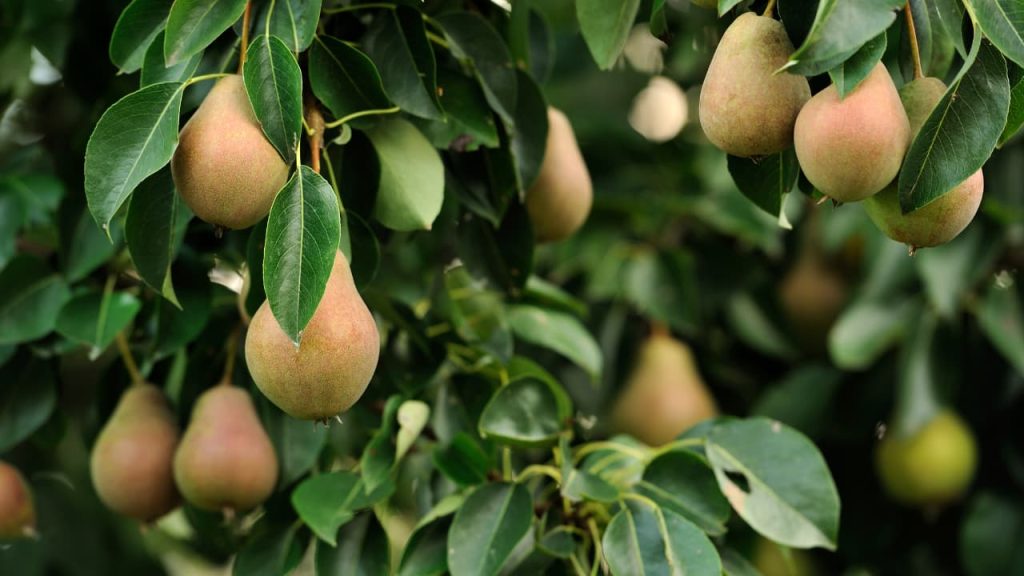
Step 1: Soak in Baking Soda Solution (Best for Removing Pesticides & Microplastics)
- Fill a bowl with cold water and add 1 teaspoon of baking soda per 2 cups of water.
- Submerge the pears and let them soak for 15 minutes.
- Why this works: Studies show that baking soda removes up to 80% of pesticide residues from fruits.
Step 2: Gently Scrub the Skin
- Use a soft-bristled vegetable brush or a clean cloth to lightly scrub the pear’s surface.
- This helps remove wax coatings and any pesticide residue clinging to the skin.
Step 3: Rinse Under Running Water
- After soaking and scrubbing, rinse each pear under cold running water for at least 30 seconds.
- This helps wash away any remaining baking soda and pesticide residues.
Step 4: Optional Vinegar Rinse for Extra Cleaning
- Mix 1 part white vinegar with 3 parts water in a bowl.
- Soak the pears for 5 minutes for added removal of bacteria and contaminants.
- Important: Rinse well after soaking to remove any vinegar taste.
Step 5: Dry & Store Properly
- Pat the pears dry with a clean towel.
- Store them in a dry place or in the refrigerator for freshness.
Alternative Cleaning Methods
- Peeling the Pears – Removes most pesticides but also eliminates valuable fiber and antioxidants found in the skin.
- Saltwater Soak – Using 1 teaspoon salt per 4 cups of water for 10 minutes can help remove surface contaminants but may slightly alter the taste.
Final Tip
Whenever possible, buy organic pears or wash conventional pears thoroughly using the baking soda soak method. This significantly reduces pesticide residues, microplastics, and wax coatings, making them safer and more enjoyable to eat.
Oranges

🚿 Step-by-Step Process to Clean Oranges Safely
Even if you don’t eat the peel, cleaning oranges properly before peeling is crucial — especially if you use zest in recipes or make juice with the rind.
Step 1: Wash Your Hands
Start by washing your hands thoroughly to prevent transferring additional contaminants onto the fruit during the cleaning process.
Step 2: Rinse Under Cool Running Water
Place the orange under cool (not warm or hot) running water to remove loose dirt and surface debris.
Step 3: Scrub the Peel
Use a produce brush (specifically for fruits and vegetables) to gently scrub the peel in a circular motion. This helps remove pesticide residues and dirt from the textured surface.
Step 4: Soak in Baking Soda Solution (Optional)
For a deeper clean:
- Fill a large bowl with water.
- Add 1 tablespoon of baking soda per 4 cups of water.
- Soak the oranges for 12–15 minutes. Baking soda has been shown in studies to effectively remove pesticide residues from fruit skins.
Step 5: Rinse Again
After soaking, rinse each orange under cool running water to remove any baking soda residue and loosened contaminants.
Step 6: Dry Thoroughly
Pat the oranges dry with a clean paper towel or cloth. This also helps remove any remaining residues.
✅ Bonus Tip: Use Organic When Possible
Organic oranges are grown without synthetic pesticides, but they can still be exposed to environmental microplastics and should also be washed thoroughly.
🌟 Why This Matters
Even though you don’t eat the peel, the outer contamination can easily reach your fruit during handling or zesting. Cleaning your oranges properly allows you to enjoy their natural vitamin C, fiber, and blood sugar-regulating properties — without sabotaging your health with hidden toxins.
Would you like me to create a visual step-by-step cleaning guide or checklist for oranges and other fruits?
Avocado
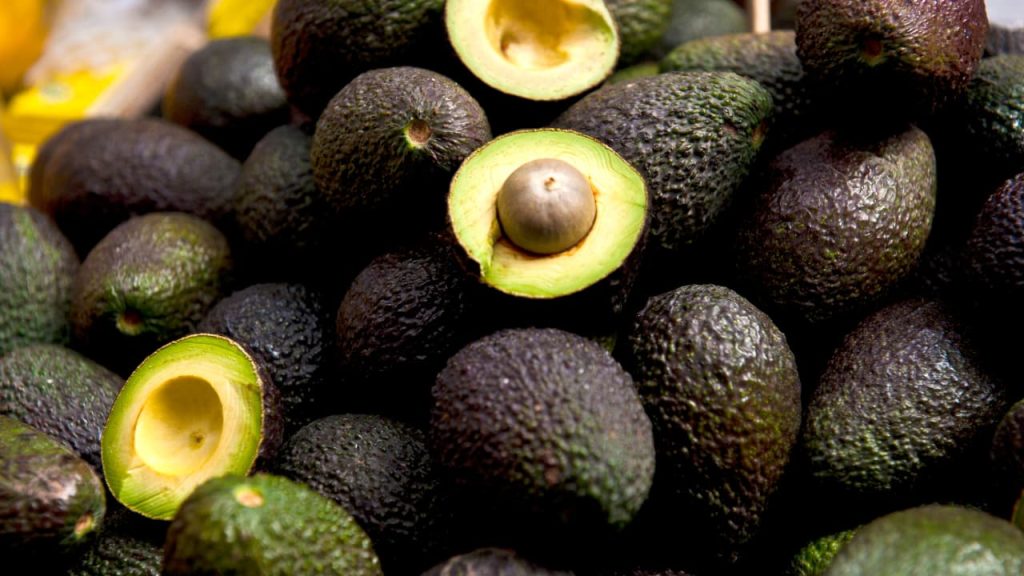
🧼 Step-by-Step Process to Clean Avocados Safely
Step 1: Wash Your Hands
Before handling any fruit, wash your hands to prevent introducing any additional germs or contaminants.
Step 2: Rinse Under Cool Water
Hold the avocado under cool running water. Avoid warm water, which may open the pores in the skin and increase absorption of contaminants.
Step 3: Scrub the Skin Gently
Use a soft produce brush or your hands to gently scrub the avocado’s bumpy skin. This helps remove any dirt, pesticide residues, or environmental particles like dust or microplastics clinging to the surface.
🔍 Why scrub if you don’t eat the skin?
Because when you cut into the avocado, the knife moves from the outside to the inside — potentially dragging contaminants with it.
Step 4: Pat Dry
Use a clean kitchen towel or paper towel to dry the fruit completely. This helps remove any loosened residue and reduces the chance of slipping during cutting.
✅ Extra Tips
- Don’t use soap or commercial fruit washes – these are not food-safe and may leave behind harmful residues.
- Opt for organic when possible, especially if you eat avocados regularly. Though avocados are generally low in pesticide residue, organic farming avoids synthetic chemical use and minimizes overall exposure.
- Use a clean cutting board and knife after washing to avoid cross-contamination.
🥑 Summary: Clean Skin, Clean Slice, Clean Fuel
Avocados are a powerhouse of healthy fats, fiber, potassium, and blood sugar-stabilizing nutrients. Cleaning them properly ensures you can safely enjoy their benefits — without invisible contaminants undermining their health-boosting effects.
Would you like a printable fruit-cleaning guide for your kitchen or your readers?
Cherries
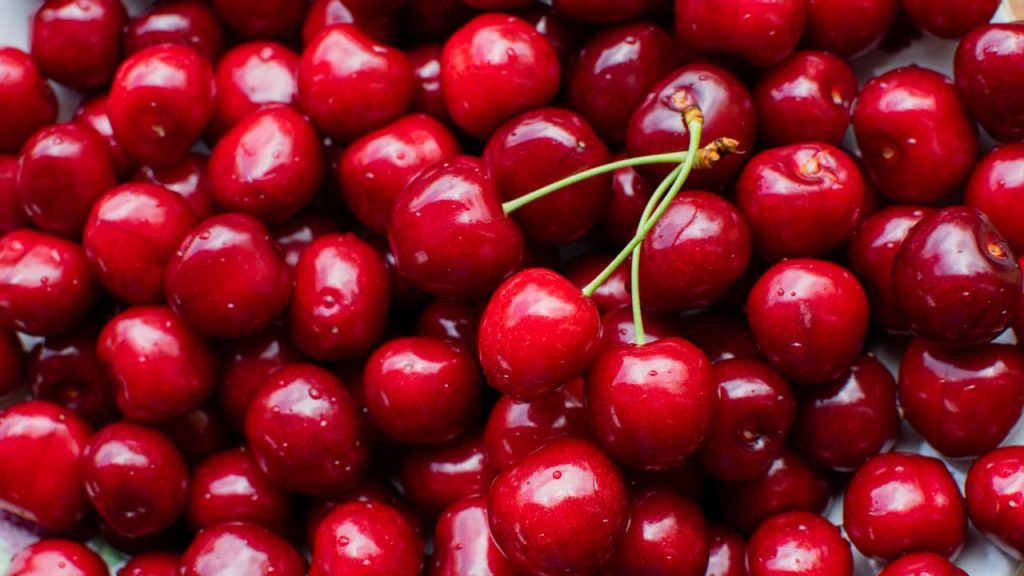
🧼 Step-by-Step Process to Clean Cherries Safely
Step 1: Wash Your Hands
Always begin by washing your hands with soap and water to prevent transferring any germs or contaminants to the fruit.
Step 2: Rinse Under Cool Water
Place the cherries in a colander and rinse them thoroughly under cool, running water. Gently move them around to ensure all surfaces are washed. Avoid using warm water, as it may cause the fruit’s pores to open, which can trap contaminants inside.
Step 3: Soak in a Vinegar Solution (Optional)
For extra cleaning power, soak the cherries in a mixture of one part vinegar to three parts water. This can help remove any remaining pesticide residues. Soak for 5–10 minutes to give the solution time to work.
🧴 Why vinegar?
Vinegar is a natural, food-safe option that can help break down some pesticide residues, though it won’t remove all of them. It can also help clean off some dirt and bacteria.
Step 4: Rinse Again
After soaking, rinse the cherries again with cool water to remove any vinegar taste and residue.
Step 5: Dry the Cherries
Pat the cherries dry with a clean kitchen towel or paper towels to remove excess water and any loosened contaminants.
Step 6: Remove Stems and Discard Damaged Fruit
After cleaning, remove the stems from the cherries and discard any damaged or overripe cherries. These may have absorbed more contaminants or could introduce bacteria.
✅ Extra Tips
- Buy organic cherries when possible: Organic cherries are less likely to contain synthetic pesticides. If you’re consuming cherries regularly, this can be a worthwhile investment in your health.
- Do not use soap: Avoid washing fruits with soap or commercial fruit washes, as these can leave harmful residues behind.
- Store properly: After cleaning, store cherries in a breathable container in the fridge. They can be sensitive to moisture, so ensure they are fully dry before storing.
🍒 Summary: Clean Cherries for Maximum Health Benefits
Cherries are an excellent fruit for stabilizing blood sugar levels and providing a wealth of antioxidants and fiber. However, like many other fruits, they can be contaminated with harmful pesticides and microplastics. By taking the time to properly clean and prepare your cherries, you can enjoy their delicious taste and health benefits while minimizing exposure to contaminants.
By washing, soaking, and drying them correctly, you can make sure that your cherries are as clean and healthy as possible without compromising their natural sweetness and flavor.
Kiwi
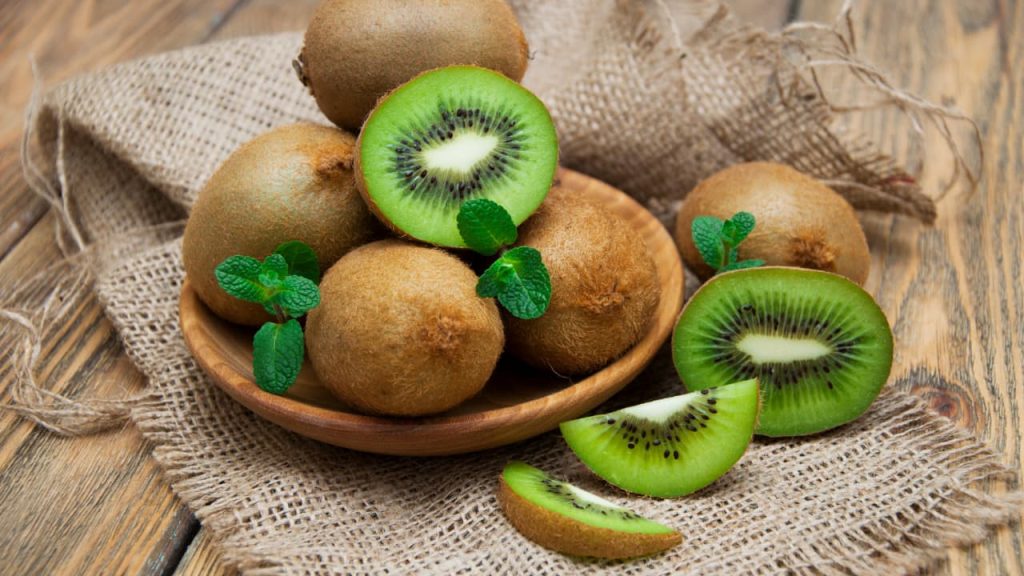
🧼 Step-by-Step Process to Clean Kiwis Safely
Step 1: Wash Your Hands
Before handling any fruit, start by washing your hands thoroughly with soap and water to prevent contaminating the fruit.
Step 2: Rinse Under Cool Water
Place the kiwi under cool, running water. Gently rub the skin of the kiwi with your hands while rinsing. The water will help remove dirt, debris, and some pesticide residues from the surface.
Note: Kiwis have fuzzy skin, so rinsing them under water is essential to loosen any dirt or pesticides that may be stuck to the skin.
Step 3: Use a Soft Brush (Optional)
For better cleaning, especially to remove dirt or stubborn pesticide residues from the fuzzy skin, use a soft vegetable brush. Gently scrub the entire surface of the kiwi. Avoid using a rough brush as it may damage the skin.
Step 4: Soak in Vinegar Solution (Optional)
For added cleaning power, soak the kiwis in a mixture of one part vinegar to three parts water. This can help to break down some pesticide residues and clean off any remaining contaminants.
- Soak for 5–10 minutes. This will allow the vinegar solution to loosen pesticide residues and help remove any potential bacteria or fungi that may be present on the surface.
Step 5: Rinse Again
After soaking, rinse the kiwis again under cool, running water to remove any vinegar solution and loosened contaminants. This step will ensure that no residual vinegar taste remains.
Step 6: Peel and Slice
Once cleaned, peel the kiwi with a knife or spoon to remove the outer skin. The skin itself can sometimes carry residual pesticides, so it’s best to remove it before eating.
If you’re concerned about potential pesticide residues even after cleaning, you can consider eating only the flesh of the fruit.
Step 7: Dry the Fruit
After cleaning, pat the kiwis dry with a clean kitchen towel or paper towels to remove excess water.
✅ Extra Tips
- Buy organic kiwis when possible: Organic kiwis are grown without the use of synthetic pesticides, so opting for organic varieties can reduce exposure to harmful chemicals.
- Don’t use soap: Avoid using soap, bleach, or other chemical washes on your kiwis, as they can leave harmful residues and affect the taste.
- Store properly: Store your cleaned kiwis in a breathable container in the fridge to keep them fresh. Ensure they are dry before storing to prevent mold or spoilage.
🥝 Summary: Clean Kiwis for Maximum Health Benefits
Kiwis are a fantastic fruit for stabilizing blood sugar levels and providing essential vitamins and antioxidants. However, like most produce, they can be contaminated with harmful pesticides and microplastics. By taking the time to clean and prepare them properly, you can minimize the risk of these contaminants while still enjoying the fruit’s full health benefits.
By following the steps to wash, soak, and peel your kiwis, you’ll ensure that you’re consuming this nutrient-packed fruit in the safest way possible without compromising its taste or nutritional value.
Grapefruit

🧼 Step-by-Step Process to Clean Grapefruit Safely
Step 1: Wash Your Hands
Start by washing your hands with soap and water to ensure the fruit doesn’t get contaminated from your hands during cleaning.
Step 2: Rinse Under Cool Water
Hold the grapefruit under cool, running water and rinse it thoroughly. Use your hands to gently rub the surface, which will help remove dirt, dust, and some pesticide residues. This step is crucial for removing any surface contaminants, such as dirt and chemicals that may have accumulated during handling or storage.
Tip: Avoid using hot water, as it can open the pores of the fruit’s skin, making it easier for chemicals to penetrate.
Step 3: Use a Soft Brush
To further clean the thick rind, use a soft vegetable brush. Gently scrub the entire surface of the grapefruit with the brush to remove any dirt, pesticide residues, and potential microplastic particles from the skin. Be sure to scrub all areas, especially the parts that might have been in contact with packaging or the ground.
Step 4: Soak in Vinegar Solution (Optional)
For an extra level of cleanliness, you can soak the grapefruit in a solution of 1 part vinegar to 3 parts water for 5–10 minutes. Vinegar is known for its ability to help break down pesticide residues and kill bacteria. This solution also helps with removing some types of microplastics from the surface.
Step 5: Rinse Again
After soaking, rinse the grapefruit under cool water again to wash away the vinegar solution and any loosened contaminants. This step ensures that the fruit doesn’t retain any vinegar taste.
Step 6: Dry the Fruit
Once cleaned, pat the grapefruit dry with a clean kitchen towel or paper towels to remove any excess moisture. This is especially important if you’re not eating it immediately, as moisture can promote mold growth.
Step 7: Peel or Slice the Fruit
Peel the thick skin of the grapefruit before consuming it. Most contaminants, including pesticides and microplastics, are concentrated on the outer layer of the fruit, so peeling the rind reduces your exposure. If you prefer to eat the flesh directly, make sure you discard the peel properly to avoid ingesting any contaminants.
✅ Extra Tips
- Organic Grapefruits: Consider buying organic grapefruits to reduce the likelihood of pesticide contamination. Organic farming generally uses fewer pesticides, though it’s important to wash them thoroughly regardless.
- Avoid using soap or bleach: Soap and bleach can leave behind harmful residues and may affect the fruit’s taste. Stick to natural cleaning methods like water and vinegar.
- Avoid cleaning with chemical-based fruit washes: These products are unnecessary and may leave chemical residues that could affect the flavor and health benefits of the grapefruit.
🍊 Summary: Clean Grapefruit for Maximum Health Benefits
Grapefruits are rich in vitamin C, antioxidants, and fiber, making them an excellent fruit to include in your diet for stabilizing blood sugar and promoting overall health. However, like many fruits, they are susceptible to contamination by pesticides and microplastics. By following the proper cleaning techniques outlined above, you can reduce the risk of exposure to these harmful substances and enjoy the full nutritional benefits of this delicious citrus fruit without compromising its taste.
Cleaning your grapefruits properly is essential for safeguarding your health, especially if you want to enjoy their numerous benefits without the risks associated with contaminants. Take the extra time to wash, soak, and peel your fruit for the best possible outcome.
Plums
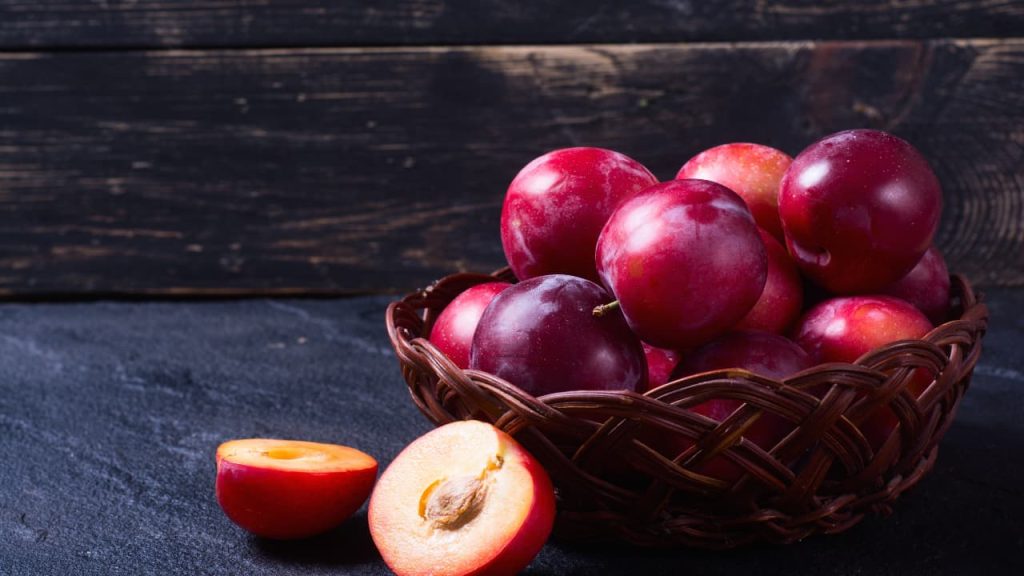
🧼 Step-by-Step Process to Clean Plums Safely
Step 1: Wash Your Hands
Before you start cleaning plums, wash your hands with soap and water to avoid transferring any contaminants from your hands to the fruit.
Step 2: Rinse Under Cool Water
Place the plums under cool running water and gently rinse them. Use your hands to rub the surface lightly, ensuring you remove any visible dirt, dust, and surface pesticide residues. This step is critical to remove any surface contamination before proceeding to further cleaning.
Tip: Avoid using hot water as it could open up the pores of the fruit, making it easier for contaminants to penetrate.
Step 3: Use a Soft Brush
To thoroughly clean the surface, use a soft vegetable brush to scrub the plums. Gently scrub the entire fruit, focusing on areas where pesticides and microplastics are most likely to adhere, such as around the stem and near the surface imperfections. Be careful not to bruise or damage the fruit while brushing.
Step 4: Soak in Vinegar Solution (Optional)
For an added level of cleaning, you can soak the plums in a vinegar solution. Mix 1 part vinegar to 3 parts water in a bowl, and let the plums soak for 5–10 minutes. This helps break down pesticide residues, bacteria, and may assist in removing some microplastic particles from the surface.
Step 5: Rinse Again
After soaking the plums in the vinegar solution, rinse them thoroughly under cool water to wash away any remaining vinegar, dirt, and loosened contaminants. This will prevent any residual vinegar taste from affecting the flavor of the fruit.
Step 6: Dry the Plums
Use a clean kitchen towel or paper towels to gently pat the plums dry. This will help remove any excess moisture and reduce the chances of mold growth, particularly if you are not eating them immediately.
Step 7: Peel (Optional)
While the skin of plums is rich in nutrients and fiber, you can opt to peel the fruit if you’re particularly concerned about contamination. However, peeling is generally not necessary unless you have health concerns related to pesticide exposure or microplastics.
✅ Extra Tips
- Buy Organic Plums: If possible, opt for organic plums, as they are less likely to be exposed to pesticides. Organic farming practices tend to use fewer synthetic chemicals, but it’s still important to clean them thoroughly.
- Avoid Chemical Fruit Washes: Stick to natural methods like vinegar and water to clean your plums. Fruit washes containing chemicals can leave unwanted residues and affect the fruit’s flavor.
- Proper Storage: Once cleaned, store plums in a cool, dry place or in the refrigerator to maintain their freshness and reduce exposure to environmental contaminants.
🍑 Summary: Clean Plums for Optimal Health
Plums are a nutritious and delicious fruit that can provide health benefits like antioxidants, vitamins, and fiber, which help in stabilizing blood sugar and supporting overall health. However, like most fruits, plums can be contaminated with pesticides and microplastics. Proper cleaning is essential to avoid ingesting harmful substances that could diminish the fruit’s benefits.
By following the cleaning steps outlined above, you can effectively remove pesticide residues and microplastics, ensuring that you enjoy plums safely and reap their maximum nutritional value. Always take the extra time to clean your fruit thoroughly, as this simple action can help safeguard your health while still enjoying the sweet, tangy taste of plums.
Grapes

🧼 Step-by-Step Process to Clean Grapes Safely
Step 1: Wash Your Hands
Before cleaning grapes, wash your hands with soap and water to avoid transferring any contaminants onto the fruit.
Step 2: Rinse Under Cool Running Water
Place the grapes in a colander and rinse them thoroughly under cool running water. Gently shake the colander to ensure the grapes are fully exposed to the water. This initial rinse helps remove any visible dirt, dust, and surface pesticide residues.
Tip: Avoid using hot water, as it could damage the fruit’s skin or affect its flavor.
Step 3: Use a Soft Brush
For a more thorough cleaning, you can use a soft vegetable brush or a clean cloth to gently scrub the grapes. This step is essential for dislodging any pesticide residues or microplastics that may be embedded in crevices on the skin. Scrub gently to avoid bruising or damaging the delicate fruit.
Step 4: Soak in Vinegar Solution (Optional)
To enhance the cleaning process, you can soak the grapes in a vinegar solution. Mix 1 part vinegar to 3 parts water in a large bowl and immerse the grapes for about 5–10 minutes. This vinegar soak helps break down pesticide residues and bacteria, and it may also aid in removing some microplastic particles from the fruit’s surface.
Step 5: Rinse Again
After soaking the grapes in the vinegar solution, rinse them thoroughly under cool running water to remove any leftover vinegar solution, loosened contaminants, or dirt.
Step 6: Dry the Grapes
Use a clean kitchen towel or paper towels to gently pat the grapes dry. This will help remove excess moisture and prevent the growth of mold, especially if you are storing them for later use. It also minimizes the risk of contamination from moisture.
Step 7: Separate from Stems (Optional)
If you’re not going to consume the grapes immediately, you may want to separate the grapes from the stems. Grapes that are left attached to the stems can have more surface area for potential pesticide and microplastic contamination. Removing them allows for more thorough cleaning and helps extend their shelf life.
✅ Extra Tips
- Opt for Organic Grapes: If available, organic grapes are less likely to have pesticide residues. However, even organic grapes can still be contaminated by microplastics, so cleaning them thoroughly remains essential.
- Avoid Chemical Fruit Washes: Stick with natural cleaning methods like vinegar and water instead of using fruit washes that may contain synthetic chemicals.
- Proper Storage: After cleaning, store grapes in the refrigerator to keep them fresh and to reduce the potential for contamination. Keep them in a breathable container to allow airflow and reduce moisture buildup.
🍇 Summary: Clean Grapes for Maximum Health Benefits
Grapes are a nutritious and delicious fruit that provide antioxidants, vitamins, and fiber, which are beneficial for stabilizing blood sugar and promoting overall health. However, like most conventionally grown fruits, grapes can be contaminated with pesticides and microplastics. These contaminants can negate the health benefits of the fruit and potentially harm your health over time.
By following the cleaning steps outlined above, you can significantly reduce pesticide and microplastic residues on the surface of grapes, ensuring that you get the maximum nutritional benefits without ingesting harmful chemicals. While buying organic grapes is a good alternative, cleaning all grapes thoroughly before consumption is still highly recommended to ensure you’re enjoying them safely and healthily.

